> ## Documentation Index
> Fetch the complete documentation index at: https://docs.getoutbox.ai/llms.txt
> Use this file to discover all available pages before exploring further.
# GoHighLevel Integration
> Connect your GoHighLevel account to unlock powerful automation features
**Don't have GoHighLevel yet?** Get started with a [14-day free
trial](https://www.gohighlevel.com/?fp_ref=outbox) to access all the features
you need to manage leads, calendars, and customer communications.
## Overview
The GoHighLevel integration enables Outbox AI to interact with your CRM, manage appointments, send messages across multiple channels, and trigger custom workflows—all automatically through your AI agents.
***
## Integration Setup
Follow these steps to connect your GoHighLevel account to Outbox AI.
### Step 1: Get Your Outbox AI API Key
First, you'll need to grab your API key from Outbox AI.
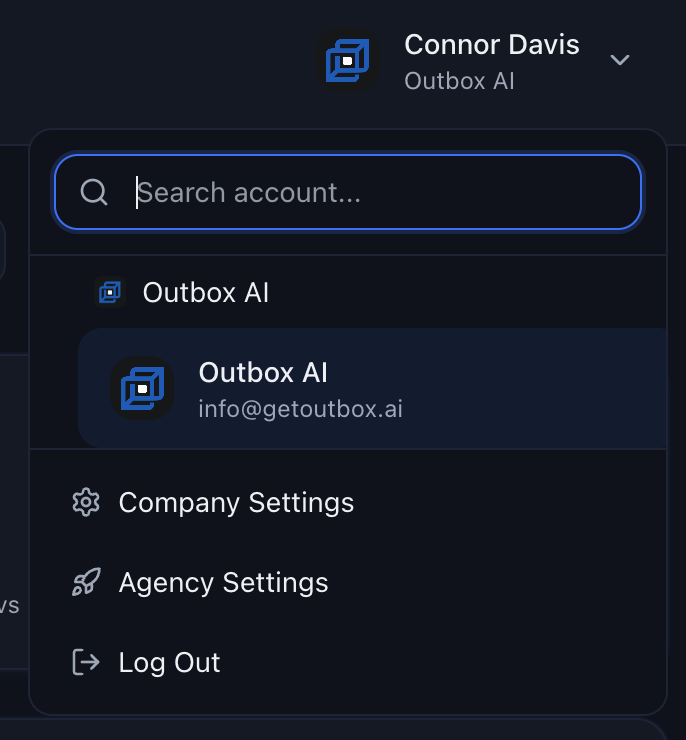
**1.1 Navigate to Company Settings**
Click on the dropdown menu in the top right corner and select **Company Settings**.
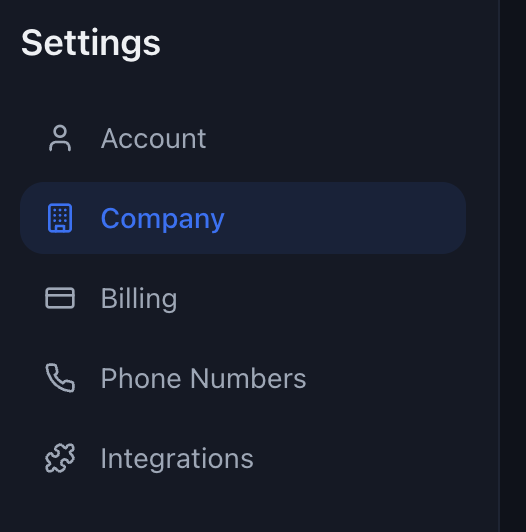
 **1.2 Access the Company Tab**
Go to the **Company** tab to find your API credentials.
**1.2 Access the Company Tab**
Go to the **Company** tab to find your API credentials.
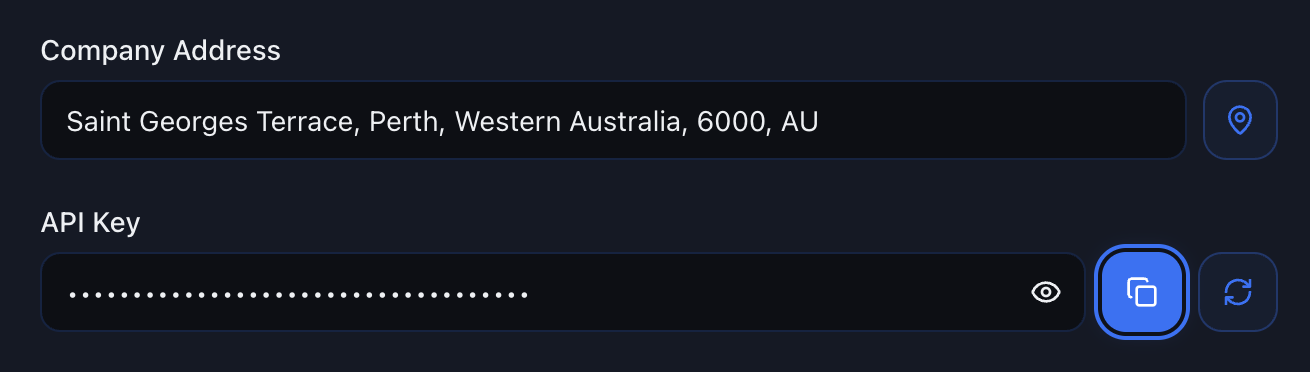
 **1.3 Copy Your API Key**
Locate and copy the Outbox AI API Key. You'll need this in a moment.
**1.3 Copy Your API Key**
Locate and copy the Outbox AI API Key. You'll need this in a moment.
 ***
### Step 2: Open Integrations
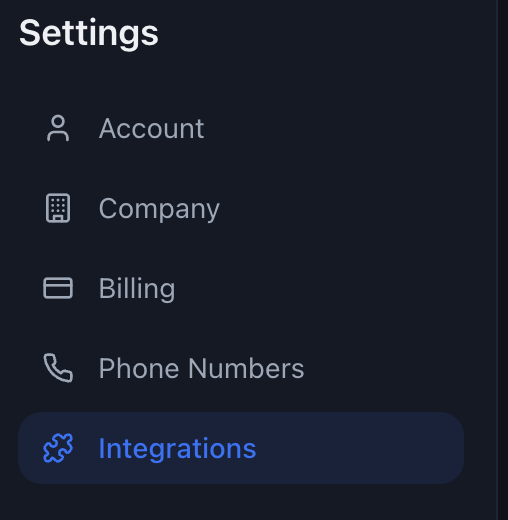
**2.1 Navigate to Integrations**
Still in Outbox AI, go to **Integrations** in the sidebar.
***
### Step 2: Open Integrations
**2.1 Navigate to Integrations**
Still in Outbox AI, go to **Integrations** in the sidebar.
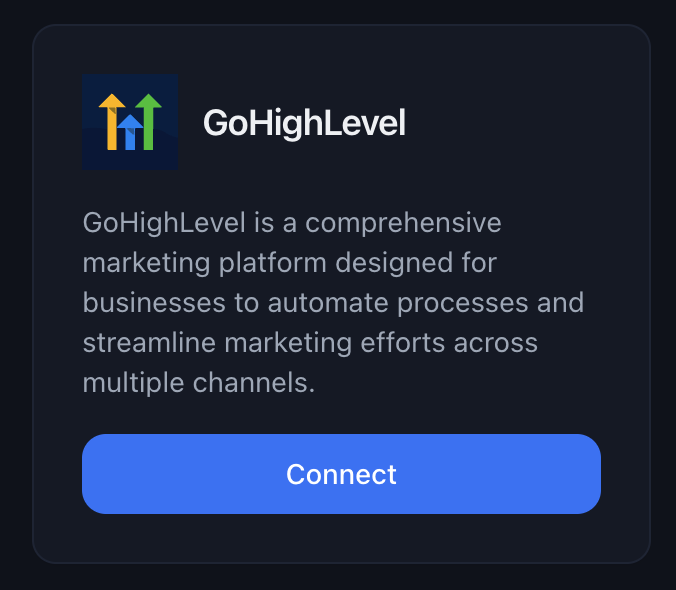
 **2.2 Find GoHighLevel**
Locate GoHighLevel in the integrations list and click **Update** (or **Connect** if this is your first time setting it up).
**2.2 Find GoHighLevel**
Locate GoHighLevel in the integrations list and click **Update** (or **Connect** if this is your first time setting it up).
 ***
### Step 3: Authorize and Verify Connection
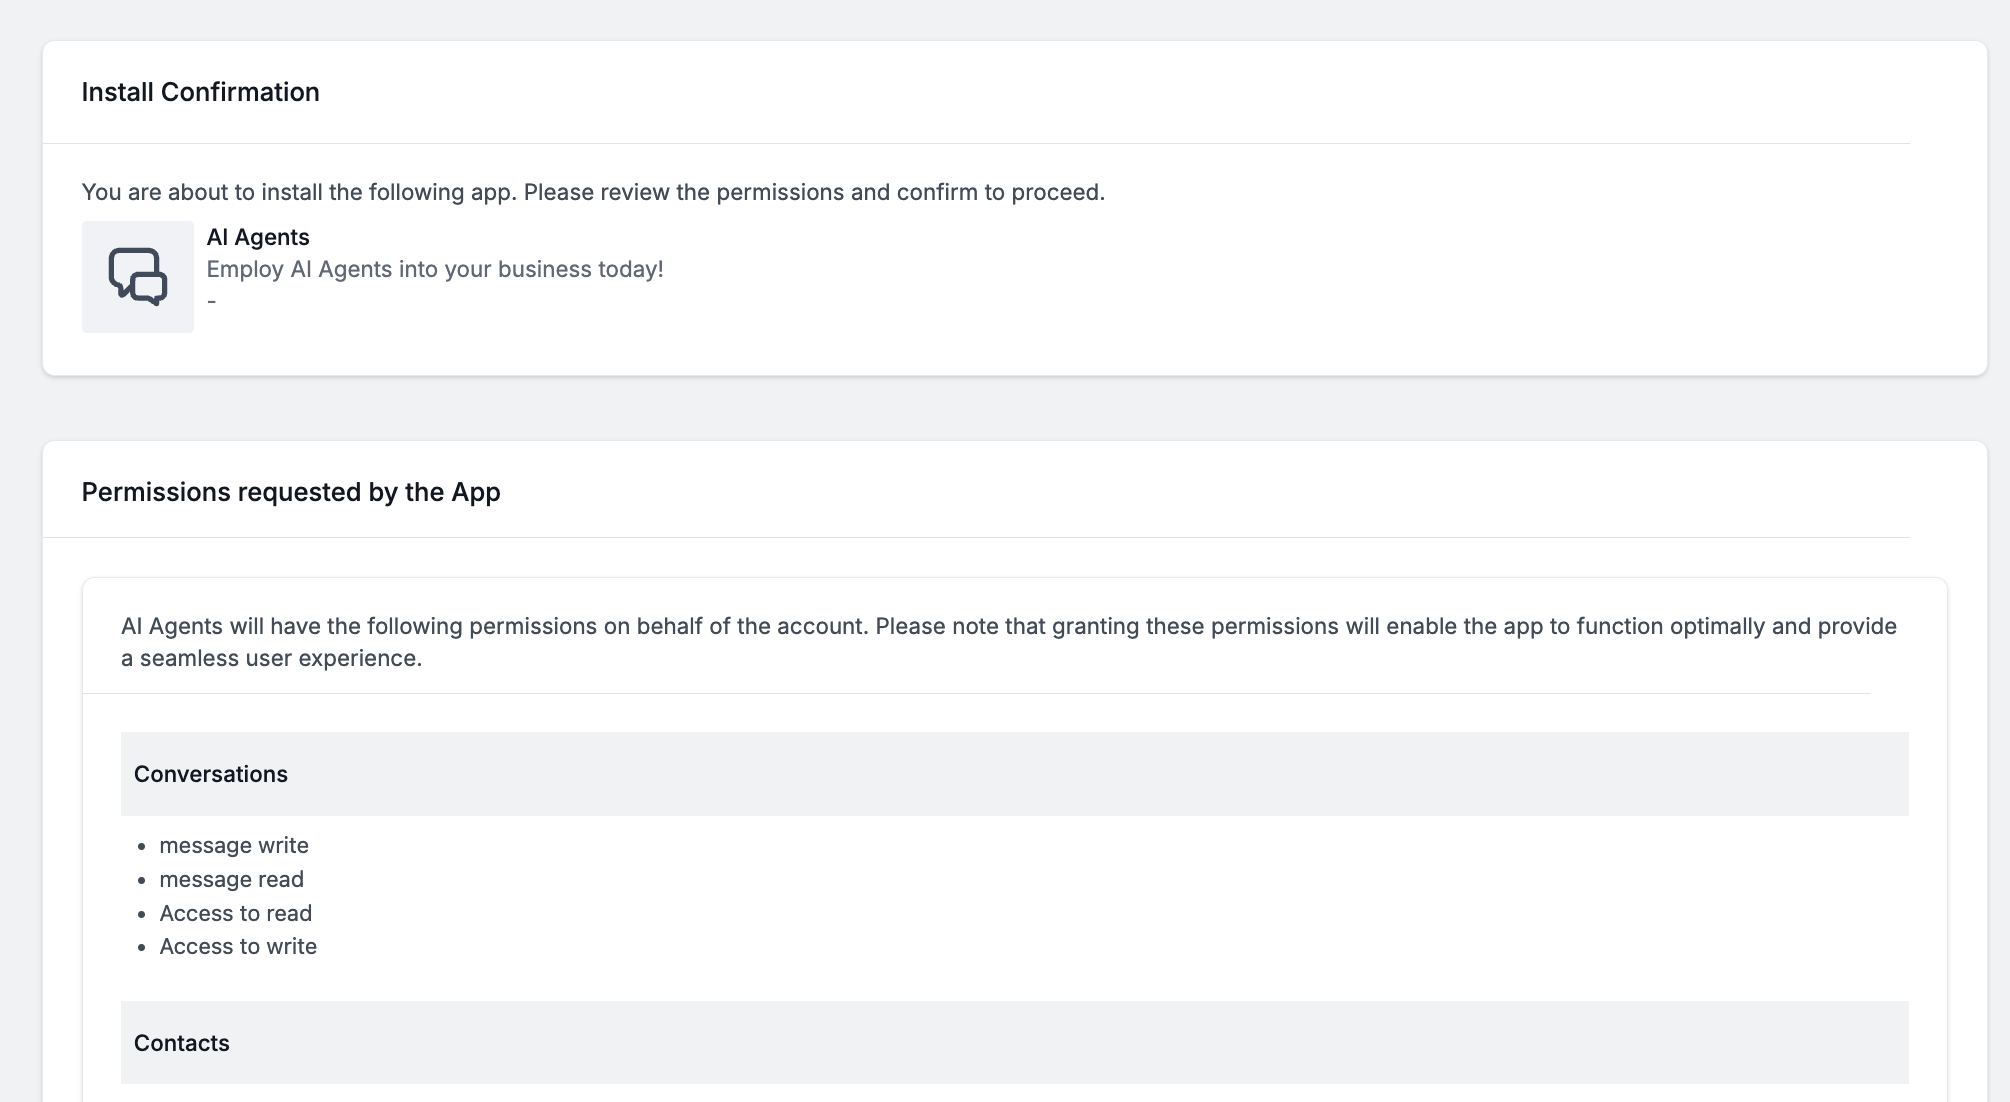
**3.1 Review Permissions**
A GoHighLevel permission screen will appear, listing all the scopes Outbox AI needs to function properly:
* Conversations
* Contacts
* Locations
* Calendars
* Workflows
* Charges
***
### Step 3: Authorize and Verify Connection
**3.1 Review Permissions**
A GoHighLevel permission screen will appear, listing all the scopes Outbox AI needs to function properly:
* Conversations
* Contacts
* Locations
* Calendars
* Workflows
* Charges
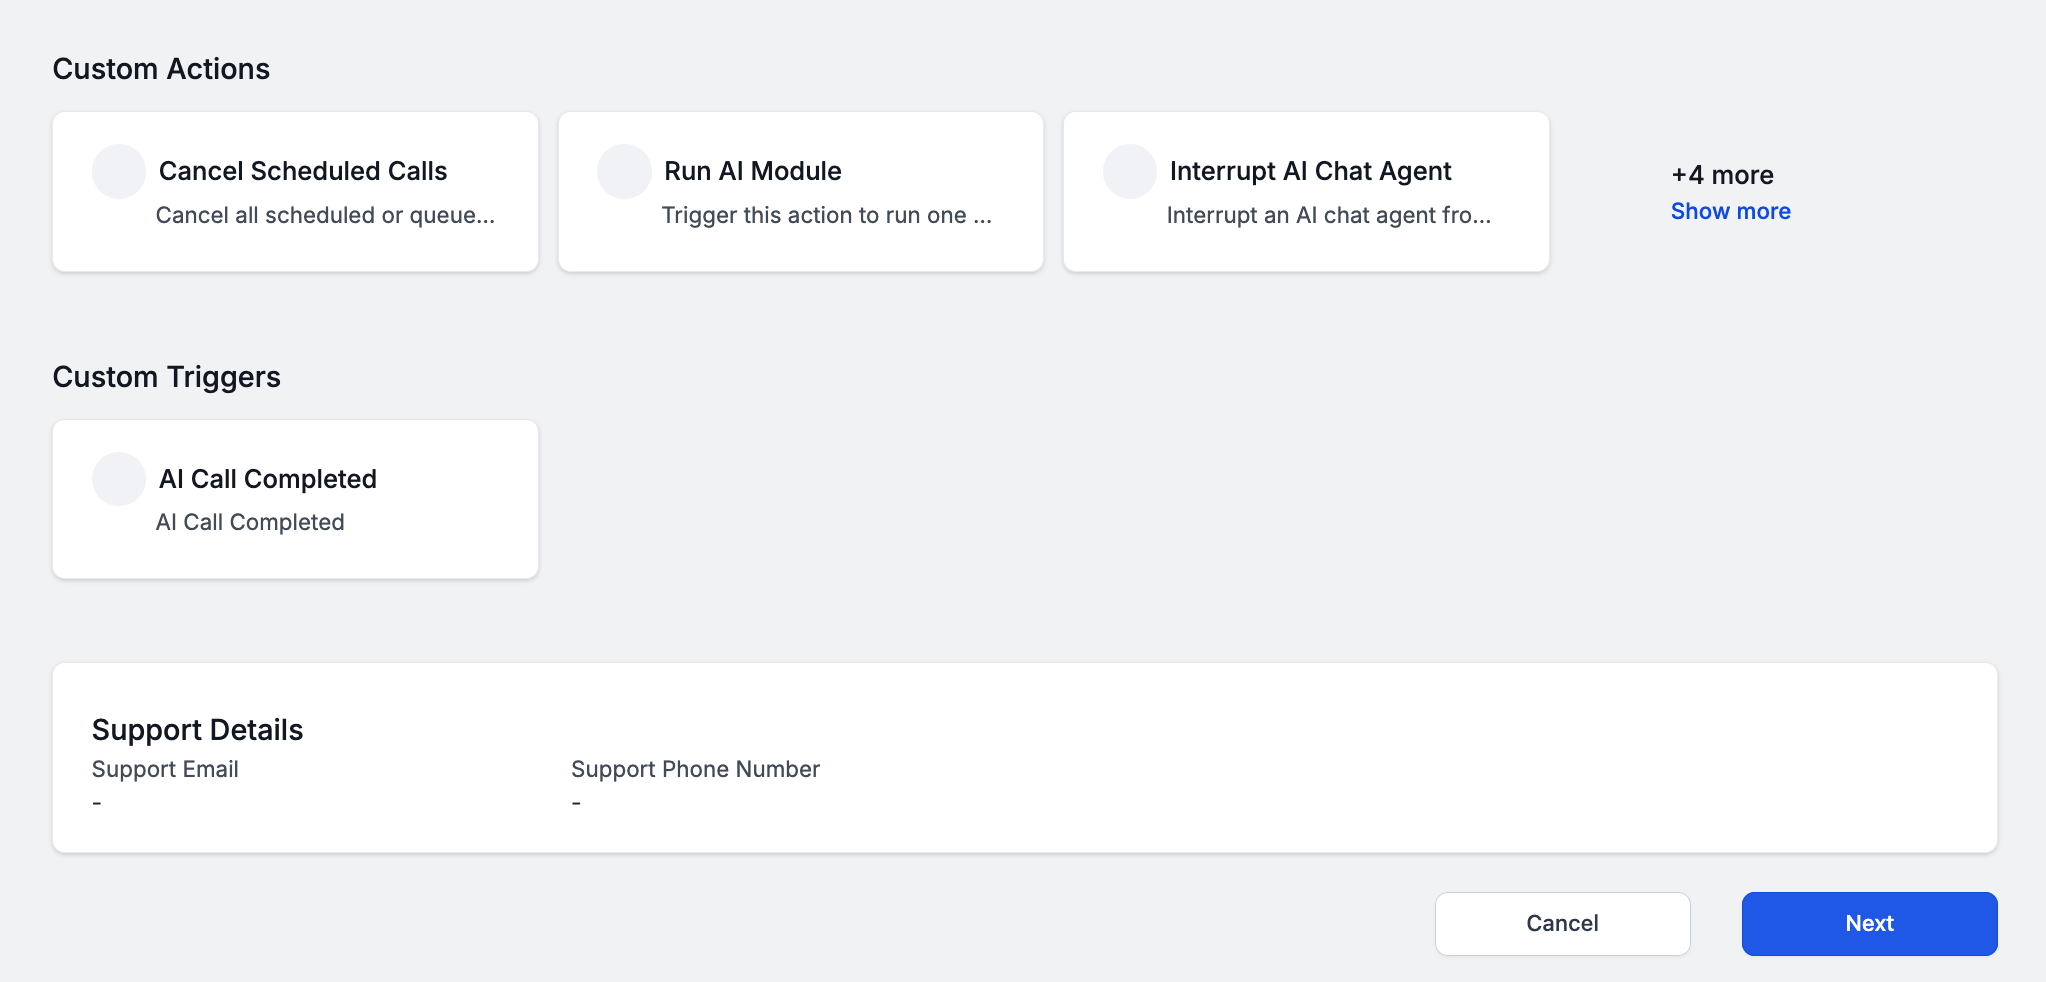
 **3.2 Grant Access**
Click **Next** and then **Allow** to authorize these permissions.
**3.2 Grant Access**
Click **Next** and then **Allow** to authorize these permissions.
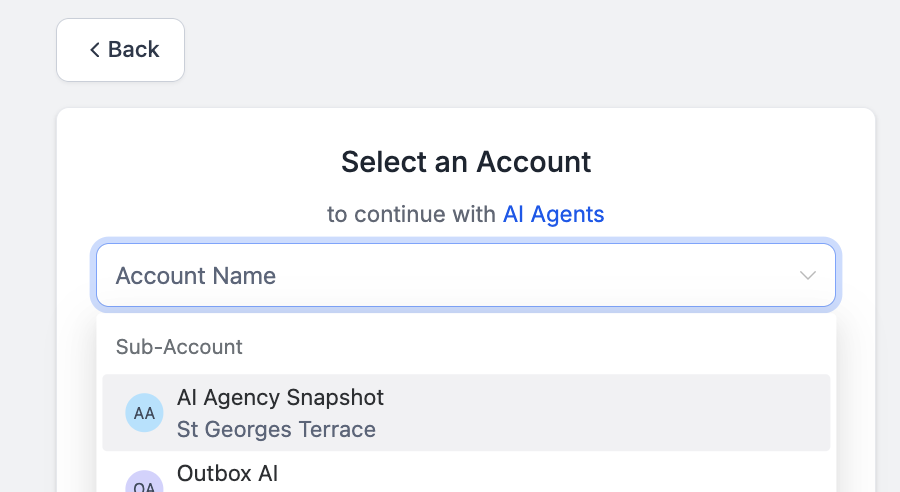
 **3.3 Choose Your Subaccount**
Select which GoHighLevel subaccount you want to connect to Outbox AI.
**3.3 Choose Your Subaccount**
Select which GoHighLevel subaccount you want to connect to Outbox AI.
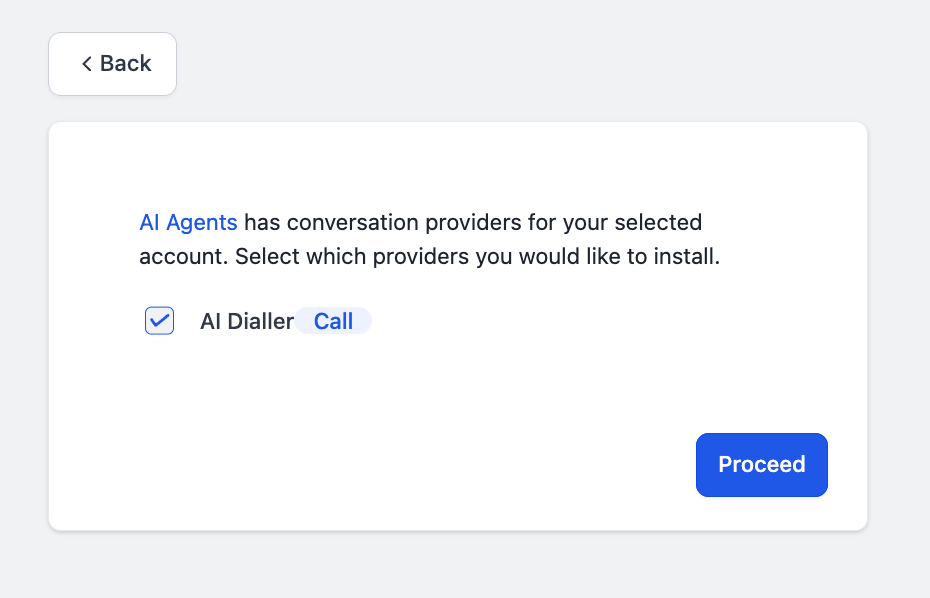
 **3.4 Add Custom Provider AI Dialler**
Add the custom provider AI Dialler to enable phone call capabilities.
**3.4 Add Custom Provider AI Dialler**
Add the custom provider AI Dialler to enable phone call capabilities.
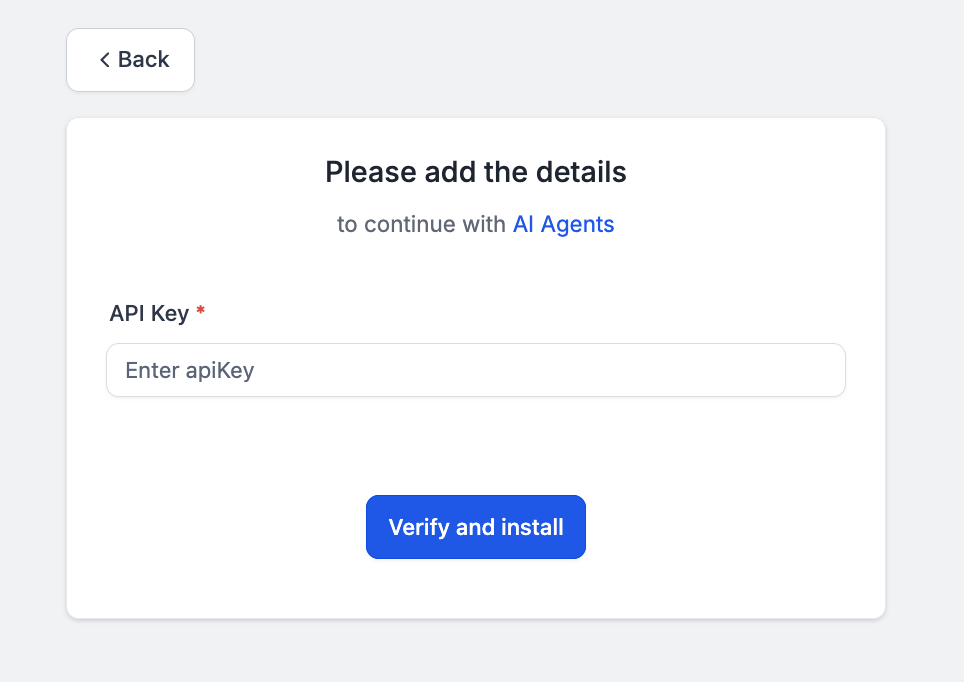
 **3.5 Paste Your API Key and Verify**
In the verification box that appears, paste the API key you copied in Step 1, then click **Verify & Install** to finalize the connection.
**3.5 Paste Your API Key and Verify**
In the verification box that appears, paste the API key you copied in Step 1, then click **Verify & Install** to finalize the connection.
 ***
### Step 4: Confirmation
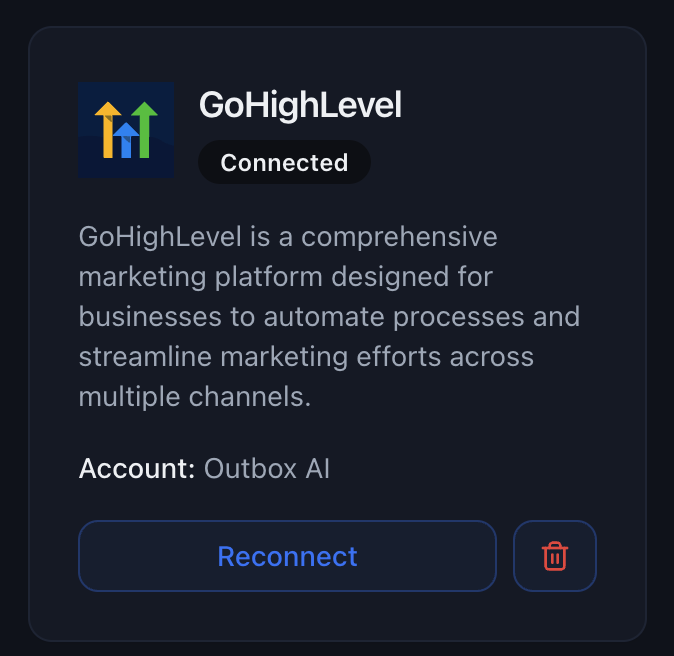
The GoHighLevel account will now appear in your Integrations list with a green **"Connected"** badge.
***
### Step 4: Confirmation
The GoHighLevel account will now appear in your Integrations list with a green **"Connected"** badge.
 ***
## What Happens Next?
Once your GoHighLevel integration is active, Outbox AI unlocks powerful capabilities:
All your GoHighLevel calendars become selectable in the `book_appointment` tool. AI agents can check availability and schedule appointments automatically.
{" "}
SMS, email, Facebook Messenger, and WhatsApp channels are now available for
your chat agents to use when communicating with leads and customers.
{" "}
Custom GHL actions (such as Create Opportunity, Move Pipeline Stage, Add Tags,
etc.) can be invoked by any agent you assign to handle these workflows.
Usage logs for calls, chats, and bookings automatically sync back to the GoHighLevel contact timeline, keeping your CRM data up-to-date without manual entry.
***
## Custom Actions & Triggers
Outbox AI provides powerful custom actions that you can use directly within your GoHighLevel workflows. These actions enable you to automate conversations, make phone calls, and trigger AI tools seamlessly.
### Chat Actions
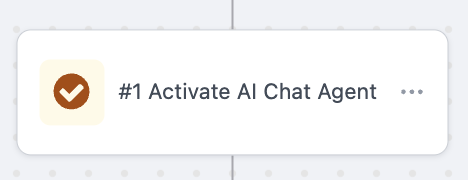
Activate an AI chat agent to automatically respond to contacts across multiple platforms.
**Configuration:**
1. **Choose the agent** from the dropdown menu
2. **Tick the platforms** it should answer on (can be one or many: SMS, Facebook Messenger, WhatsApp, Instagram, etc.)
3. **Optional:** Set a minimum and maximum reply delay (e.g., twenty to forty seconds) to mimic human typing patterns
***
## What Happens Next?
Once your GoHighLevel integration is active, Outbox AI unlocks powerful capabilities:
All your GoHighLevel calendars become selectable in the `book_appointment` tool. AI agents can check availability and schedule appointments automatically.
{" "}
SMS, email, Facebook Messenger, and WhatsApp channels are now available for
your chat agents to use when communicating with leads and customers.
{" "}
Custom GHL actions (such as Create Opportunity, Move Pipeline Stage, Add Tags,
etc.) can be invoked by any agent you assign to handle these workflows.
Usage logs for calls, chats, and bookings automatically sync back to the GoHighLevel contact timeline, keeping your CRM data up-to-date without manual entry.
***
## Custom Actions & Triggers
Outbox AI provides powerful custom actions that you can use directly within your GoHighLevel workflows. These actions enable you to automate conversations, make phone calls, and trigger AI tools seamlessly.
### Chat Actions
Activate an AI chat agent to automatically respond to contacts across multiple platforms.
**Configuration:**
1. **Choose the agent** from the dropdown menu
2. **Tick the platforms** it should answer on (can be one or many: SMS, Facebook Messenger, WhatsApp, Instagram, etc.)
3. **Optional:** Set a minimum and maximum reply delay (e.g., twenty to forty seconds) to mimic human typing patterns
 **How it works:**
When the contact reaches this workflow step, the AI agent takes over the conversation from that point forward. You can follow up with scheduled SMS or email reminders; the agent will only jump in after the prospect responds.
**Pro Tip:** Use reply delays to make conversations feel more natural and human-like. A 20-40 second delay gives contacts time to read and respond without feeling rushed.
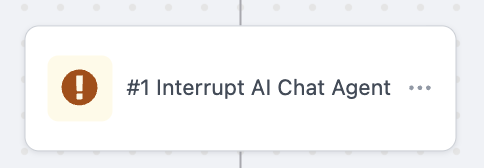
Stop an active AI chat agent and return the conversation to human control.
**Configuration:**
1. **Select the agent** (or agents) you want to silence
2. Once this action runs, the thread is returned to human control
**How it works:**
When the contact reaches this workflow step, the AI agent takes over the conversation from that point forward. You can follow up with scheduled SMS or email reminders; the agent will only jump in after the prospect responds.
**Pro Tip:** Use reply delays to make conversations feel more natural and human-like. A 20-40 second delay gives contacts time to read and respond without feeling rushed.
Stop an active AI chat agent and return the conversation to human control.
**Configuration:**
1. **Select the agent** (or agents) you want to silence
2. Once this action runs, the thread is returned to human control
 **When to use:**
* Contact requests to speak with a human
* AI agent encounters a complex scenario requiring human intervention
* Contact becomes frustrated or asks to be removed
* Conversation needs to be escalated to sales or support
After interruption, no further AI messages will be sent on that platform for that contact unless you reactivate the agent.
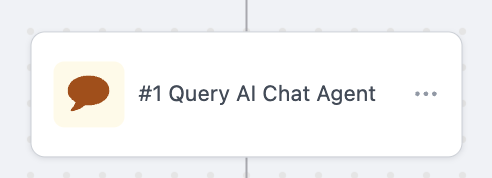
Ask an AI agent a specific question with custom context, useful for automating responses outside of active conversations.
**Configuration:**
1. **Choose an agent** from the dropdown
2. **Insert context** – provide background information the agent needs
3. **Add the message** to ask the agent
**When to use:**
* Contact requests to speak with a human
* AI agent encounters a complex scenario requiring human intervention
* Contact becomes frustrated or asks to be removed
* Conversation needs to be escalated to sales or support
After interruption, no further AI messages will be sent on that platform for that contact unless you reactivate the agent.
Ask an AI agent a specific question with custom context, useful for automating responses outside of active conversations.
**Configuration:**
1. **Choose an agent** from the dropdown
2. **Insert context** – provide background information the agent needs
3. **Add the message** to ask the agent
 **Use Cases:**
* **Automate Instagram comment responses** – Ask the agent to craft a reply based on the comment content
* **Generate personalized follow-ups** – Query the agent for a custom message based on contact behavior
* **Create dynamic content** – Use the agent to generate tailored responses for specific scenarios
* **Sentiment analysis** – Ask the agent to evaluate a contact's message and route accordingly
The response from the agent can be stored in a custom field and used later in your workflow!
***
### Voice Actions
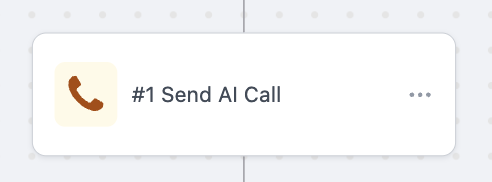
Automatically place outbound AI phone calls to contacts using your voice agents.
**Configuration:**
1. **Agent** – Select your speed-to-lead voice agent
2. **From Number** – Choose your dedicated dialler DID (Direct Inward Dialing number)
3. **First Message** – Set the opening line for the call
**Use Cases:**
* **Automate Instagram comment responses** – Ask the agent to craft a reply based on the comment content
* **Generate personalized follow-ups** – Query the agent for a custom message based on contact behavior
* **Create dynamic content** – Use the agent to generate tailored responses for specific scenarios
* **Sentiment analysis** – Ask the agent to evaluate a contact's message and route accordingly
The response from the agent can be stored in a custom field and used later in your workflow!
***
### Voice Actions
Automatically place outbound AI phone calls to contacts using your voice agents.
**Configuration:**
1. **Agent** – Select your speed-to-lead voice agent
2. **From Number** – Choose your dedicated dialler DID (Direct Inward Dialing number)
3. **First Message** – Set the opening line for the call
 **Example First Message:**
```
Hey, is this {{contact.first_name}}?
```
**Context Variables:**
You can pass dynamic variables from GoHighLevel to personalize each call:
```
first_name = {{contact.first_name}}
last_name = {{contact.last_name}}
time_zone = {{contact.time_zone}}
company_name = {{contact.company_name}}
appointment_time = {{custom_values.appointment_time}}
```
**Custom Variables:** List all the dynamic variables you have in your prompt so they can be properly substituted during the call.
**When to use:**
* **Speed-to-lead calls** – Instantly call new leads within seconds of form submission
* **Appointment confirmations** – Automatically confirm bookings 24 hours in advance
* **Follow-up calls** – Re-engage cold leads or no-shows
* **Lead qualification** – Screen leads before passing them to your sales team
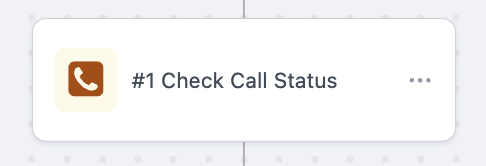
Check the status of the most recent AI call sent to a contact.
**Status Values:**
* **did-succeed** – At least one success-flagged tool ran (e.g., booking confirmed, information collected)
* **did-forward** – Call was forwarded to another number or agent
* **did-not-answer** – Went to voicemail or contact didn't pick up
* **did-not-qualify** – Contact hit an unqualified rule during the call
* **customer-ended** – Caller hung up without completing desired action
* **agent-ended** – AI agent ended the call (typically after completion)
* **callback-booked** – Contact successfully scheduled a callback
* **error** – Technical failure (malformed number, insufficient funds, carrier block, etc.)
* **active** – Call is still in progress (rare, typically only seen in real-time webhooks)
**Example First Message:**
```
Hey, is this {{contact.first_name}}?
```
**Context Variables:**
You can pass dynamic variables from GoHighLevel to personalize each call:
```
first_name = {{contact.first_name}}
last_name = {{contact.last_name}}
time_zone = {{contact.time_zone}}
company_name = {{contact.company_name}}
appointment_time = {{custom_values.appointment_time}}
```
**Custom Variables:** List all the dynamic variables you have in your prompt so they can be properly substituted during the call.
**When to use:**
* **Speed-to-lead calls** – Instantly call new leads within seconds of form submission
* **Appointment confirmations** – Automatically confirm bookings 24 hours in advance
* **Follow-up calls** – Re-engage cold leads or no-shows
* **Lead qualification** – Screen leads before passing them to your sales team
Check the status of the most recent AI call sent to a contact.
**Status Values:**
* **did-succeed** – At least one success-flagged tool ran (e.g., booking confirmed, information collected)
* **did-forward** – Call was forwarded to another number or agent
* **did-not-answer** – Went to voicemail or contact didn't pick up
* **did-not-qualify** – Contact hit an unqualified rule during the call
* **customer-ended** – Caller hung up without completing desired action
* **agent-ended** – AI agent ended the call (typically after completion)
* **callback-booked** – Contact successfully scheduled a callback
* **error** – Technical failure (malformed number, insufficient funds, carrier block, etc.)
* **active** – Call is still in progress (rare, typically only seen in real-time webhooks)
 **Use Cases:**
* **Conditional routing** – Branch workflows based on specific outcomes
* **Follow-up sequences** – Send SMS if `did-not-answer`, email if `customer-ended`
* **Success tracking** – Tag contacts when `did-succeed` or `callback-booked`
* **Error handling** – Alert team when `error` status is returned
* **Lead scoring** – Award points for `did-succeed`, deduct for `did-not-qualify`
Use this action with IF/ELSE branches in your workflow to handle different call outcomes automatically. The status values are designed to be human-readable and easy to filter on.
Cancel all queued or scheduled AI calls for a contact.
**When to use:**
* Contact responds before the scheduled call
* Contact books an appointment and no longer needs a follow-up call
* Contact requests not to be called
* Lead becomes disqualified and should be removed from call sequences
**Use Cases:**
* **Conditional routing** – Branch workflows based on specific outcomes
* **Follow-up sequences** – Send SMS if `did-not-answer`, email if `customer-ended`
* **Success tracking** – Tag contacts when `did-succeed` or `callback-booked`
* **Error handling** – Alert team when `error` status is returned
* **Lead scoring** – Award points for `did-succeed`, deduct for `did-not-qualify`
Use this action with IF/ELSE branches in your workflow to handle different call outcomes automatically. The status values are designed to be human-readable and easy to filter on.
Cancel all queued or scheduled AI calls for a contact.
**When to use:**
* Contact responds before the scheduled call
* Contact books an appointment and no longer needs a follow-up call
* Contact requests not to be called
* Lead becomes disqualified and should be removed from call sequences
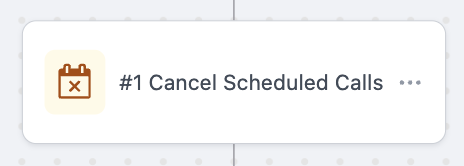 This action cancels **all** pending calls for the contact. If you only want to cancel specific calls, use conditional logic in your workflow.
***
### Triggers
Trigger workflows automatically when an AI call completes, with powerful filtering and detailed call data.
**Filter Options:**
* **Agent** – Choose which voice agent(s) to listen for
* **Status** – Filter by specific call outcomes (see statuses below)
* **Direction** – Inbound or outbound calls
This action cancels **all** pending calls for the contact. If you only want to cancel specific calls, use conditional logic in your workflow.
***
### Triggers
Trigger workflows automatically when an AI call completes, with powerful filtering and detailed call data.
**Filter Options:**
* **Agent** – Choose which voice agent(s) to listen for
* **Status** – Filter by specific call outcomes (see statuses below)
* **Direction** – Inbound or outbound calls
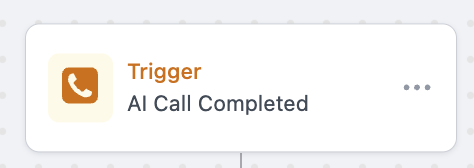 **Data Provided:**
When this trigger fires, you receive:
1. **Summary** – AI-generated transcript summary of what happened on the call
2. **Status** – The outcome of the call (see status list below)
3. **Score** – A 0-100 score indicating call quality or success
**Call Statuses:**
* **Success** – Call completed successfully with desired outcome
* **Forwarded** – Call was forwarded to another number
* **No Answer** – Contact didn't pick up or went to voicemail
* **Unqualified** – Contact didn't meet qualification criteria
* **Callback Booked** – Contact scheduled a callback
* **Error** – Technical issue prevented call completion
* **Active** – Call is still in progress (rare)
**Example Use Cases:**
* **Route hot leads** – When Status = "Success" and Score > 80, notify sales team immediately
* **Follow up on no-answers** – When Status = "No Answer", add to SMS follow-up sequence
* **Track callbacks** – When Status = "Callback Booked", create task for agent
* **Handle errors** – When Status = "Error", alert operations team
Combine the Score field with conditional logic to automatically prioritize your best leads!
***
### Advanced Actions
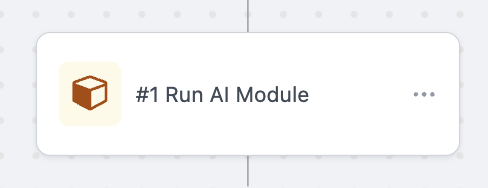
Execute Outbox AI tools directly within your GoHighLevel workflows to prefetch data, run calculations, or trigger complex automations.
**What it does:**
This action allows you to run any Outbox AI tool as part of your GHL workflow. You can use this to:
* **Prefetch data** before an agent interaction
* **Run calculations** or data transformations
* **Execute custom logic** that's too complex for standard GHL actions
* **Integrate with external APIs** through Outbox AI's tool ecosystem
**Data Provided:**
When this trigger fires, you receive:
1. **Summary** – AI-generated transcript summary of what happened on the call
2. **Status** – The outcome of the call (see status list below)
3. **Score** – A 0-100 score indicating call quality or success
**Call Statuses:**
* **Success** – Call completed successfully with desired outcome
* **Forwarded** – Call was forwarded to another number
* **No Answer** – Contact didn't pick up or went to voicemail
* **Unqualified** – Contact didn't meet qualification criteria
* **Callback Booked** – Contact scheduled a callback
* **Error** – Technical issue prevented call completion
* **Active** – Call is still in progress (rare)
**Example Use Cases:**
* **Route hot leads** – When Status = "Success" and Score > 80, notify sales team immediately
* **Follow up on no-answers** – When Status = "No Answer", add to SMS follow-up sequence
* **Track callbacks** – When Status = "Callback Booked", create task for agent
* **Handle errors** – When Status = "Error", alert operations team
Combine the Score field with conditional logic to automatically prioritize your best leads!
***
### Advanced Actions
Execute Outbox AI tools directly within your GoHighLevel workflows to prefetch data, run calculations, or trigger complex automations.
**What it does:**
This action allows you to run any Outbox AI tool as part of your GHL workflow. You can use this to:
* **Prefetch data** before an agent interaction
* **Run calculations** or data transformations
* **Execute custom logic** that's too complex for standard GHL actions
* **Integrate with external APIs** through Outbox AI's tool ecosystem
 **Configuration:**
1. Select the AI tool you want to run
2. Pass any required parameters from GHL custom fields
3. Store the tool's output in a custom field for use later in the workflow
**Example Use Cases:**
* **Lead scoring** – Run a scoring algorithm before routing to sales
* **Data enrichment** – Fetch additional contact information from external sources
* **Sentiment analysis** – Analyze previous conversations to determine contact mood
* **Custom integrations** – Connect GHL to systems that don't have native integrations
AI Tools can return data that you store in custom fields and use throughout your entire workflow!
***
## Troubleshooting
Having issues with your integration? Here are common problems and solutions:
**Problem:** You're seeing an "Invalid key" error message.
**Solution:** Double-check that you copied the Outbox **Company-level** API key, not the GoHighLevel account's API key. These are two different credentials—you need the one from Outbox AI's Company settings.
{" "}
**Problem:** Authorization fails or you see a permissions error. **Solution:**
Make sure you're logged into the correct GHL sub-account before authorizing.
The permissions need to be granted by an admin user with sufficient access
rights in GoHighLevel.
{" "}
**Problem:** You manage multiple GoHighLevel instances or client accounts.
**Solution:** You'll need to repeat the integration steps for each client
separately. Every GoHighLevel instance requires its own connection to Outbox
AI. Navigate to each company context in Outbox AI and complete the
authorization flow.
**Problem:** The integration was working but now shows as disconnected.
**Solution:** This can happen if API keys are regenerated or permissions are revoked in GoHighLevel. Simply reconnect by going back to Integrations and following the authorization flow again.
**Need help?** If you're still experiencing issues after trying these
solutions, reach out to support with your account details and a description of
the error you're seeing.
***
## Next Steps
Now that your GoHighLevel integration is complete:
Set up AI agents to handle appointments, lead qualification, and customer
support
{" "}
Create custom workflows that trigger based on GoHighLevel events
{" "}
Monitor performance and see how your integration is performing
Dive into the technical details of available endpoints and actions
**Configuration:**
1. Select the AI tool you want to run
2. Pass any required parameters from GHL custom fields
3. Store the tool's output in a custom field for use later in the workflow
**Example Use Cases:**
* **Lead scoring** – Run a scoring algorithm before routing to sales
* **Data enrichment** – Fetch additional contact information from external sources
* **Sentiment analysis** – Analyze previous conversations to determine contact mood
* **Custom integrations** – Connect GHL to systems that don't have native integrations
AI Tools can return data that you store in custom fields and use throughout your entire workflow!
***
## Troubleshooting
Having issues with your integration? Here are common problems and solutions:
**Problem:** You're seeing an "Invalid key" error message.
**Solution:** Double-check that you copied the Outbox **Company-level** API key, not the GoHighLevel account's API key. These are two different credentials—you need the one from Outbox AI's Company settings.
{" "}
**Problem:** Authorization fails or you see a permissions error. **Solution:**
Make sure you're logged into the correct GHL sub-account before authorizing.
The permissions need to be granted by an admin user with sufficient access
rights in GoHighLevel.
{" "}
**Problem:** You manage multiple GoHighLevel instances or client accounts.
**Solution:** You'll need to repeat the integration steps for each client
separately. Every GoHighLevel instance requires its own connection to Outbox
AI. Navigate to each company context in Outbox AI and complete the
authorization flow.
**Problem:** The integration was working but now shows as disconnected.
**Solution:** This can happen if API keys are regenerated or permissions are revoked in GoHighLevel. Simply reconnect by going back to Integrations and following the authorization flow again.
**Need help?** If you're still experiencing issues after trying these
solutions, reach out to support with your account details and a description of
the error you're seeing.
***
## Next Steps
Now that your GoHighLevel integration is complete:
Set up AI agents to handle appointments, lead qualification, and customer
support
{" "}
Create custom workflows that trigger based on GoHighLevel events
{" "}
Monitor performance and see how your integration is performing
Dive into the technical details of available endpoints and actions