Outbox AI supports three carriers: Twilio, Vonage, and Telnyx. Each shines in different markets and price brackets. This guide will help you pick the right one for every client.
Quick Recommendation: - 🇺🇸 US/Canada traffic? Use Twilio (best
reliability and features) - 🌍 International traffic? Use Vonage
(per-second billing saves money) - 💰 Cost-conscious international? Use
Telnyx + Twilio combo (best rates in AU/UK/NZ/Europe)
Many countries require proof-of-business before you can purchase phone numbers. Twilio calls this a “regulatory bundle.”
US/Canada toll-free and local numbers typically don’t require bundles.
Mobile numbers in most countries (including AU, UK, NZ) do require
compliance documentation.
1
Navigate to Regulatory Compliance
In the left menu choose Phone Numbers → Regulatory Compliance
2
Create Bundle
Click Create Bundle and fill in: - Country: Select your target
country - Number Type: Mobile, Local, or Toll-Free - Business Type:
Independent software vendor (or appropriate category)
3
Upload Documents
Twilio typically asks for: - Business name - Business address -
Business registration number (ABN for AU, EIN for US, Companies House
for UK, NZBN for NZ) Accepted documents: - Utility bills - Lease
agreements - Business registration certificates - Tax documents Each file
must show at least two of the required data points; upload multiple files if
needed. Registry Links: - ASIC
(Australia) - Companies House
(UK) - New
Zealand Companies Office
4
Submit and Wait
Submit; approval usually takes 24-48 hours depending on the country
After the bundle is approved (or immediately for US/Canada), go to Phone
Numbers → Buy a number
2
Filter by Country and Capabilities
Filter for your target country and Capabilities = Voice & SMS
3
Choose Your Number
Select a number that matches your needs: - Mobile (AU: 614, UK: 447, NZ:
642) - Best for SMS + voice - Local (US/Canada area codes) - Geographic
presence - Toll-free (US: 800/888, AU: 1800, UK: 0800) - Free for
callers
If you’re sending SMS messages to US numbers, you must register for A2P (Application-to-Person) messaging. This is a US regulation to reduce spam.
Required for US SMS: Without A2P registration, your SMS messages to US
numbers will be blocked or heavily throttled (limited to ~5 messages per
minute).
A2P (Application-to-Person) registration is required by US carriers for business SMS messaging. It verifies that you’re a legitimate business sending approved content.Two Options:
Standard Registration (Recommended)
Timeline: 4-6 weeks Cost: ~$15-50 one-time fee Throughput: Up to 4,500 messages per minuteRequirements:
Define your use case (appointment reminders, customer service, marketing, etc.)Submit sample message templates
5
Wait for Approval
Approval typically takes 4-6 weeks. You’ll receive email updates on progress
6
Assign Numbers
Once approved, assign your US numbers to the campaign
Start the A2P process immediately after buying your number. The 4-6 week wait is unavoidable, so don’t delay!
Low Volume (Quick Start)
Timeline: Instant Cost: Free Throughput: Only 5-10 messages per minuteIf you’re just testing or sending very low volumes, you can skip full A2P registration. However, your messages will be heavily throttled.
Not suitable for production: Low volume limits make this impractical for real campaigns. Only use for testing or tiny-scale operations.
If you’re not sending SMS to US numbers (e.g., AU → AU, UK → UK), you can skip A2P registration entirely. It’s only required for US SMS traffic.
International SMS: Other countries have their own regulations, but most
don’t require pre-registration like the US does. Always check local
requirements for your target market.
Vonage bills by the second and can be cheaper than Twilio outside the US, but the onboarding is more manual. Follow these steps to secure a number and connect it to Outbox AI.
In the left sidebar, click Phone Numbers → Buy Numbers
2
Search for Number
Choose the target country and search
3
Request (Not Buy)
Click Request; instead of instant purchase, the portal creates a ticket
4
Provide Documents
A Vonage rep emails you for supporting documents—usually: - Proof of
business name and address (utility bill, lease, ASIC extract, etc.) -
Business registration ID (ABN, Companies House number, EIN, etc.)
5
Wait for Approval
Email the files back; approval typically lands within 24–48 hours The number
appears in your dashboard under My Numbers once approved and billed
Telnyx often offers lower per-minute rates than Twilio in many international markets (especially AU, UK, and Europe), but it lacks GoHighLevel SMS integration and native voicemail detection.
Recommended Strategy
Use Twilio for inbound and SMS (so everything lands in GoHighLevel) Use
Telnyx for outbound voice, masking the calls with the same Twilio number
through “verified caller ID” This gives you the best of both worlds: Twilio’s
reliability + Telnyx’s pricing.
Popular in: Australia, UK, New Zealand, and European markets where Telnyx
rates are significantly lower than Twilio.
Leave FQDN empty and scroll down to Outbound Calls Authentication -
Set a unique Username (e.g., outbox_user) - Set a strong Password
Click Next
4
Configuration
Leave this screen as the defaults and click Next
5
Inbound
Leave this screen as the defaults and click Next
6
Outbound Settings
Configure your outbound call settings: - Localization Country – Select
the country you’ll be calling (e.g., Australia, US, UK) - Caller ID
Override – Paste the Twilio number you purchased in Step 1 This makes
outbound calls display your Twilio number instead of the raw Telnyx number.
7
Configure Voice Profile
Create or select a Voice Profile and whitelist the destinations you plan
to dial
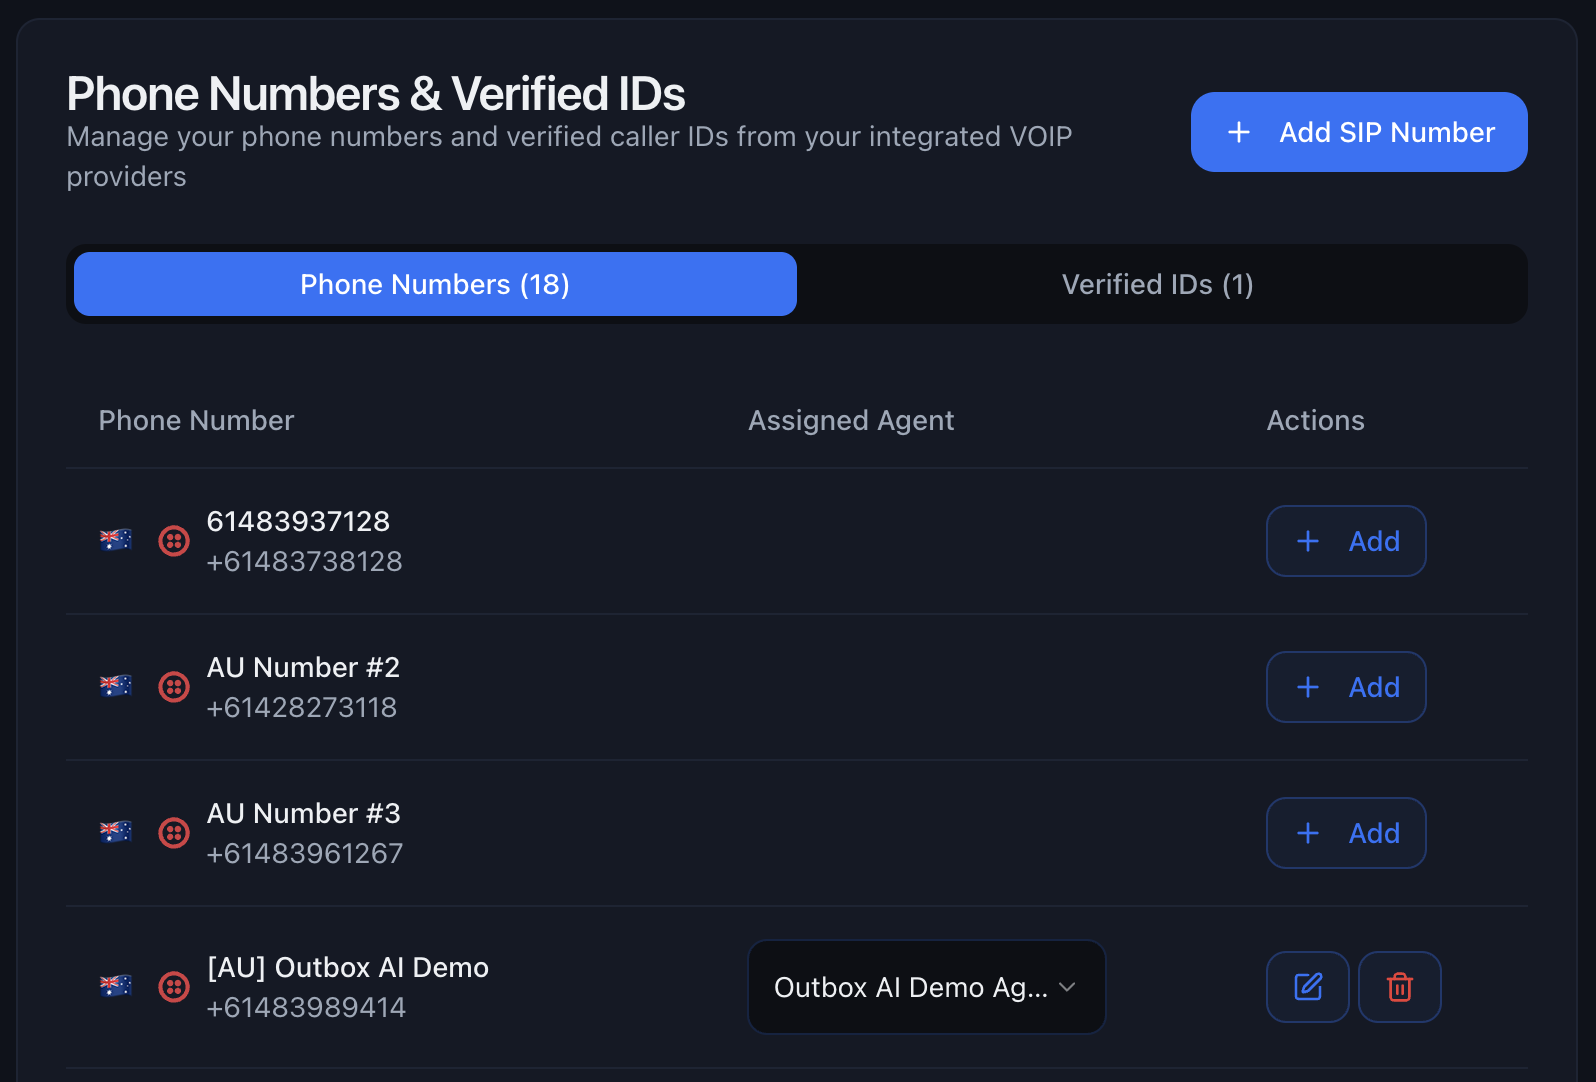
In Outbox AI, go to Company Settings → Phone Number tab
2
Add SIP Number
Click Add SIP Number
3
Configure SIP Details
Fill in the connection details: - Name – Label for this number (e.g.,
“Client Name - Telnyx Outbound”) - Phone Number – The Telnyx number you
purchased (e.g., +61412345678) - SIP Domain – sip.telnyx.com (or
192.76.120.10 if that doesn’t work) - SIP Username – The username you
set in Step 3 - SIP Password – The password you set in Step 3
4
Configure Billing
Set your billing preferences: - Rebilling – Toggle ON if you want to
charge clients for usage, OFF if you’re covering costs - Outbound Cost –
Set to 0.033 (3.3¢ per minute for AU, adjust for other countries) -
Billing Type – Keep Bill per minute ON (Telnyx charges by the
minute)
5
Save
Click Save to add the number to your account
Rebilling: If enabled, Outbox AI will automatically charge your clients
based on their call usage at the rate you set. Perfect for agency models!
✅ All outbound calls travel via Telnyx (typically 40-60% cheaper than Twilio in most markets)
✅ The callee’s phone displays the familiar Twilio number
✅ Inbound calls and SMS still hit GoHighLevel through TwilioEstimated Savings:
Australia: ~3.3¢/min vs ~7¢/min (save ~50%)
UK: ~2¢/min vs ~3¢/min (save ~33%)
Europe: ~2-3¢/min vs ~4-5¢/min (save ~40%)
Perfect for international agencies! You get Twilio’s reliability for SMS
and inbound, with Telnyx’s pricing for outbound calls. The savings really add
up on high-volume campaigns.
Don’t try to set up all three at once. Pick the best fit for your primary market and master it first.
US/Canada clients? Twilio
International clients (per-second billing)? Vonage
Cost-conscious international (AU/UK/NZ/Europe)? Telnyx + Twilio combo
Use Sub-Accounts for Client Separation
Create separate sub-accounts (Twilio) or labeled numbers (Vonage/Telnyx) for
each client. This makes billing tracking and troubleshooting 10x easier.
Test Before Going Live
Always send test calls before launching campaigns: 1. Test inbound and
outbound 2. Verify caller ID displays correctly 3. Check SMS delivery (if
applicable) 4. Confirm call quality and latency
Monitor Your Balance
Set up billing alerts in your provider dashboard. Running out of credits
mid-campaign is embarrassing and costly.
Document Your Verified Caller IDs
Keep a spreadsheet of which client uses which caller ID, especially if you’re managing multiple masked setups.
Problem: You’ve bought a number but it’s not showing up.Solutions:
Double-check credentials (SID, Auth Token, API Key) are correct
Refresh the Outbox AI page
For Twilio, ensure you’re using the correct sub-account credentials
For Telnyx SIP, verify the SIP domain is correct (sip.telnyx.com or 192.76.120.10)
Calls Failing to Connect
Problem: Outbound calls aren’t connecting. Solutions: - Check
balance: Ensure your provider account has sufficient funds - Verify number
status: Some numbers need activation or compliance approval - Test with a
different number: Rule out number-specific issues - Check concurrency
limits: You may have hit your max simultaneous calls - Review error
logs: Outbox AI shows detailed error messages in Call Logs
Caller ID Not Displaying Correctly
Problem: The wrong number is showing on outbound calls. Solutions: -
Twilio: Verify the caller ID is properly verified in Verified Caller IDs -
Telnyx: Check the Caller ID Override is set correctly in the SIP trunk -
Both: Ensure you’ve selected the correct caller ID in Outbox AI when
setting up the campaign
SMS Not Working
Problem: Text messages aren’t sending or receiving. Solutions: -
Twilio only: SMS doesn’t work with Vonage or Telnyx in GoHighLevel -
Verify the Twilio number has SMS capability enabled - Check that the number is
properly connected to GoHighLevel - Ensure you have A2P 10DLC registration if
sending to US numbers
High Latency or Poor Call Quality
Problem: Calls have delays or sound choppy. Solutions: - Check your
internet connection: Voice requires stable bandwidth - Test from a
different location: Rule out local network issues - Try a different SIP
region: For Telnyx, switch to a closer POP - Contact provider support:
There may be routing issues on their end
Regulatory Bundle Rejected
Problem: Twilio rejected your compliance documents.Solutions:
Ensure documents show at least 2 of 3 required data points (name, address, registration number)
Use recent documents (under 3 months old)
Make sure text is legible (no blurry photos)
Upload multiple documents if one doesn’t cover all requirements
Check the rejection email for specific issues
A2P Registration Stuck or Rejected
Problem: Your A2P 10DLC registration is taking too long or was rejected.Solutions:If Stuck (over 6 weeks):
Contact Twilio support with your campaign ID
Check for any pending actions in the A2P dashboard
Verify your business EIN is valid and matches official records
If Rejected:
Review the rejection reason carefully
Common issues:
Sample messages look like spam or scams
Business website doesn’t match your description
Use case is unclear or too broad
EIN doesn’t match business name
Revise your campaign description to be more specific
Provide clearer sample message templates
Resubmit with corrections
Pro Tip: Be very specific in your campaign description. Instead of “marketing messages,” say “appointment reminders and booking confirmations for dental practice patients.”
US SMS Still Throttled After A2P
Problem: SMS messages are still slow even after A2P approval.Solutions:
Verify your phone number is actually assigned to the approved campaign
Check campaign status—it may show “approved” but still be processing
Allow 24-48 hours after approval for full throughput to activate
Review your campaign’s assigned throughput tier (some use cases get lower limits)
Contact Twilio if throttling persists beyond 48 hours